29 May 2020
- 29 May 2020
Barbour Way of Life Guide to: Adding Personal Touches with Jo Saunders
We all have those special pieces of clothing that we don’t want to get rid of. Like the shirt that you wore on your first date, your all-time favourite jeans that saw you through everything, or the waxed jacket that kept you safe whatever the weather. Well, we think, rather than toss these precious garments aside, it’s about time to practice the art of making do, and mending. So, we collaborated with embroidery expert Jo Saunders (aka Sew and Saunders) to bring you a special guide to sprucing up your beloved and weary wardrobe in five easy steps. Thread at the ready!

‘Make do and mend’ — a phrase we have all heard of due to a movement introduced during WW2, encouraging housewives to be mindful, frugal and creative with household items and garments.
Fast-forward to 2020, and people across the world are still finding ways to prolong the life of their most loved items. With sustainability being at the forefront of our minds, many are not buying into such trend-led pieces. They want investment pieces, they want quality. Adding your own personal touch to that is the crowning glory of a bespoke item.
Customisation is a great way to add your own unique flair to any item, especially our most treasured items. We all have stories linked to our favourite clothes. Outfits that saw us through special occasions, clothes that we have deemed to bring us luck, or such enjoyment and confidence they feel impossible to part with.
Embroidery is a fantastic way to adorn or update a garment, whilst still adding creative flair and style. If you aren’t already a convert, embroidery has returned in recent years as an extremely popular and relaxing handicraft.
For this project, I will be showing you how to design and create your own personal embellishment to your Barbour garment.
Step 1: Create your design
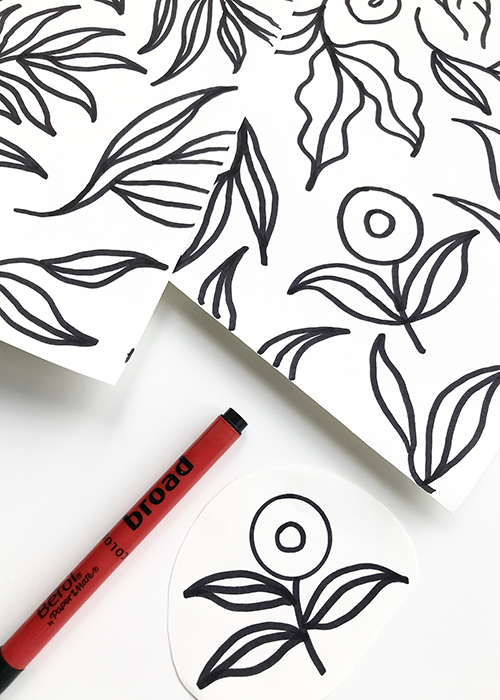
Start with a piece of paper or by getting your sketchbook out. Draw a design that is special to you. Think about the size of your design and get creative with choosing your colours. You can use any supplies you want, but for this project, I would recommend cotton or wool threads.
Step 2: Choose the placement
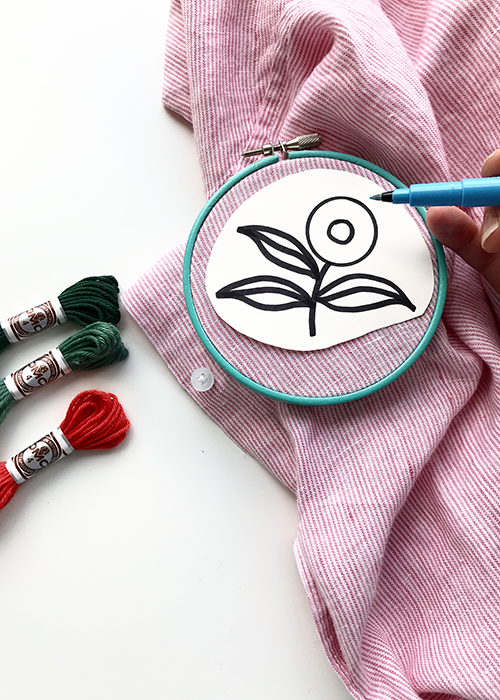
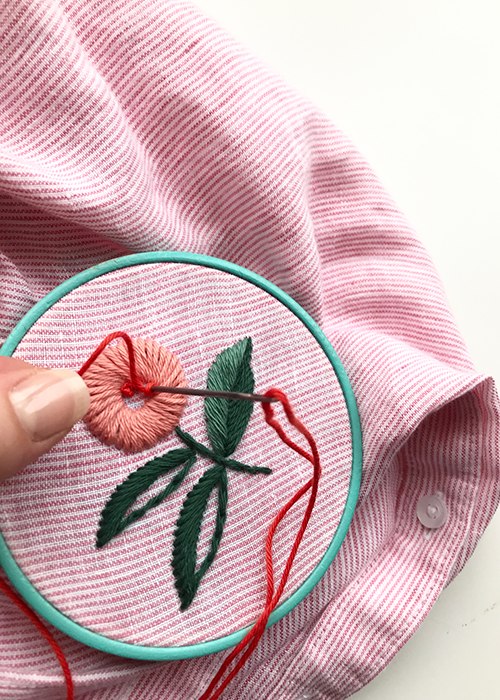
Set your design in place with a small embroidery hoop. These are easily available online, and I would recommend using a 4-inch hoop so that the fabric stays taught, especially for any beginners. Be creative with the placement — a pocket, lapel or hem all work well. Be mindful when considering placement and think about the size of your drawing.
Step 3: Transfer your design
You can use a pencil or a water-soluble pen to transfer your design onto your garment. If you are working on a light-coloured fabric you can trace your design, but if not, you can draw it by hand. Don’t be scared, it doesn’t need to be perfect, that is half the beauty of hand embroidery — as in nature, the leaves on a tree are never all identical sizes.
Step 4: Stitch the stems and leaves
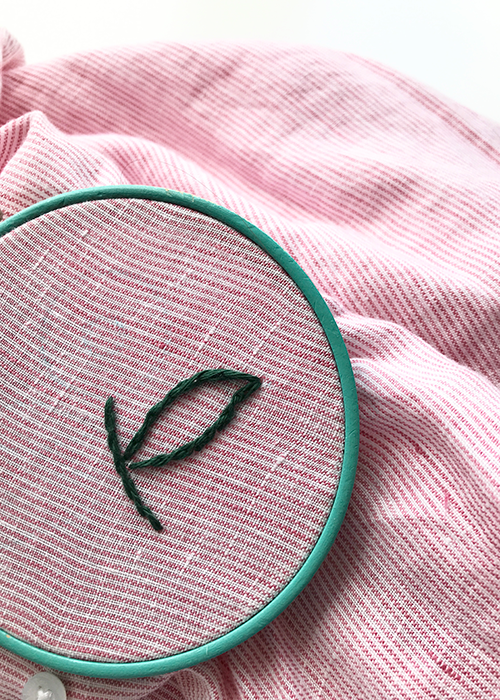
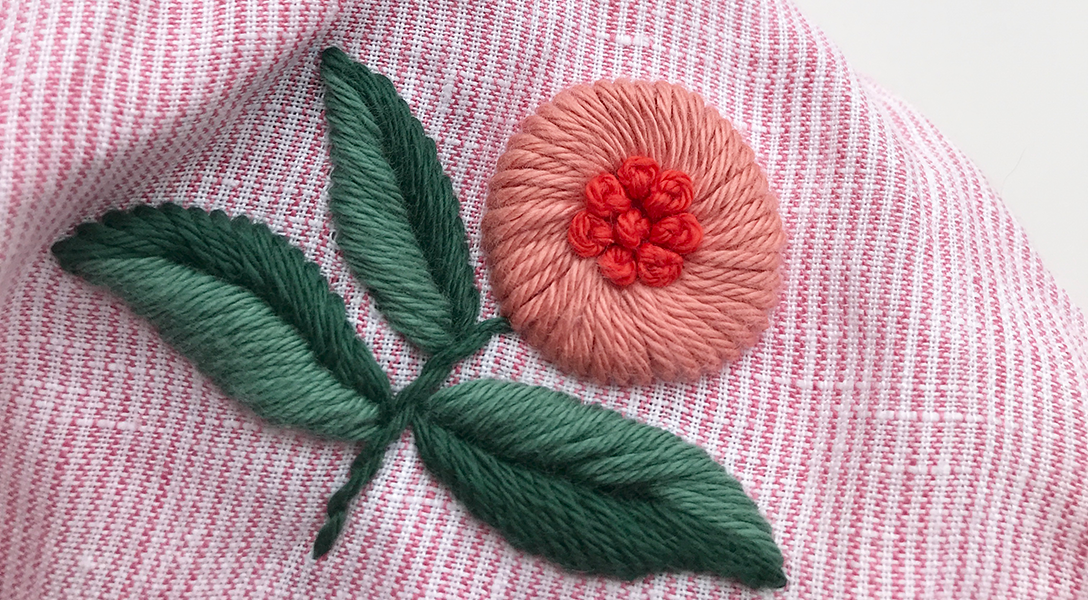
You can create a design without a flower if you desire. Just use this technique; these are also satin stitches worked out from the middle. Work back stitches along the stem of the plant/flower.
Step 5: Centre the stitching
After choosing your colours, you can start stitching. If you are working on a thick fabric such as stiff denim, you might need to use a thicker needle than usual. If you are working on fine cotton or jersey, use a fine needle. Work your needle around the edge of your flower shape and then add a centre — these stitches are called ‘satin stitches’. Very simple tutorials for these can be found on YouTube.
You are finished! You can have fun with embroidery, using different types of thread, cotton, silk or wool, and playing with the placement. Why not try adding some mini florals to your shirt collar? Or letter initials are also a great way to personalise your items.
Stay tuned to the Barbour blog, for more in our Barbour Way of Life series, where we’ll be posting more heart-warming, exciting and educational guides.


