- Apr 30, 2020
The Barbour Way of Life Guide to: Nature-inspired Illustration with Lee Foster-Wilson
spring summer 2020
Whether you’re naturally green-fingered or just curious, getting back to nature is good for the mind, body and soul — and it’s a great time to learn how to bring the outdoors, in. We joined forces with artist Lee Foster-Wilson, aka Bonbiforest, to bring you a step-by-step guide that will help you capture nature by drawing it. So, grab your stationery and a cup of something soothing, and settle in for an organic art lesson with Lee.
Greenery and nature are very important to our emotional and mental wellbeing. Being out and in the fresh air is important, but it is also a lovely meditative exercise to study plant forms in detail and to make drawings from them. Even better if you can use those drawings to create something to hang in your home to remind you to take time to look closely at the natural world around us.
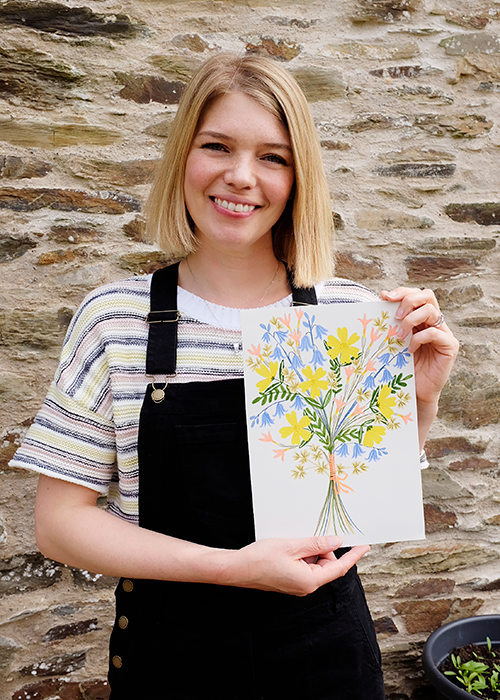
In this tutorial I am going to show you how to study natural forms, make sketches and bring them together into a bouquet drawing that I hope will be a satisfying piece of art for your home!

Step One: Collect your subject matter
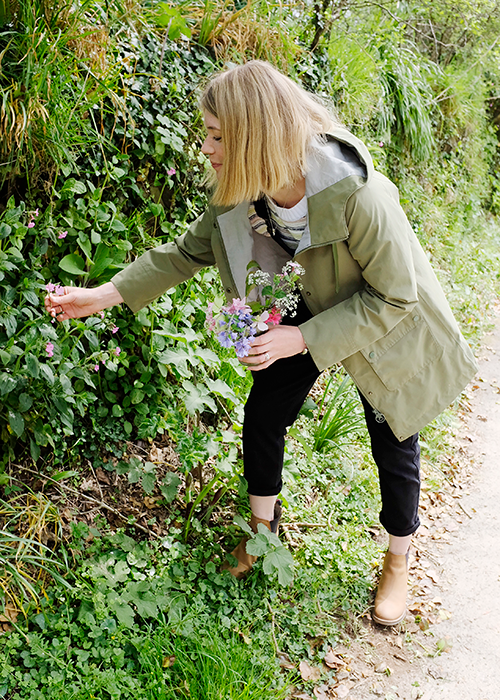
You will need to collect a variety of different plant forms to draw from, so now is the time to be productive on your daily walk, especially if you don’t have a garden or your garden is less than inspiring.
When you are out on your walk, start to look around and take note of every plant form you pass and if you like the shape of the flowers or leaves then take a picture of it with your smartphone. Try and get images that show the full head of the flower and also the flower from the side, as well as the leaf shapes. Take note of any interesting marks and patterns and capture those too.
If you can gather plants to draw from life, that is great too. If you have a garden you can gather blooms and leaves there or even draw in situ in the fresh air. If you don’t, please remember that while it is not illegal to pick wildflowers in the UK please make sure that you pick sparingly (one or two flower heads from a clump), never pull up by the root and never pick from anyone else’s garden. When looking for natural forms don’t discard the weeds that grow between paving cracks either. These can be very beautiful and delicate when viewed up close!
When you get home, put any live samples in water and go through your pictures and choose the ones that most appeal to you. You may want to make a separate album in your phone to store your new plant inspiration images.
Step Two: Gather your materials
If you don’t have a dedicated art stash, have a hunt around your house for anything that you can find to make drawings with. These could be pencils, coloured pencils, colouring pens and paint (even children’s ones are ok!), marker pens, paint markers etc.
You will, of course, need paper too. Copy paper is fine or even the inside of envelopes (which sometimes have nice patterns in them) or a cereal box if you don’t have plain paper or a sketchbook to use.
Step Three: Make some sketches
This is where the fun starts. Don’t worry about making a mess or mistakes, you will learn as much from that as you will by getting it right. I like to study plant forms by looking at their shapes first and foremost. So take your live plants and your photographs and start looking for shapes within them and making line drawings of them to the best of your ability.
Look especially at the shape of leaves and petals; are they rounded or pointy, long or short, wavy or flat? Try and draw what you can see as best as you can as individual petals and leaves, and then as they are on the stem. Take time to study the details too — stamen, patterns, seeds etc can all add appealing detail to your drawings. They don’t need to be super realistic and it doesn’t matter if your hand-eye coordination isn’t spot on, it’s all about getting across as best you can the feel of what you are seeing.
Try drawing them really neatly and then try drawing them in a looser, more gestural way. You could also have a go at really simplifying the shapes, either with line drawings or with flat colours. Have fun experimenting and then when you see a style emerge that you like, make as many sketches as you can using that style as preparation for your final piece.
Step Four: Plan your final piece
Once you have spent some time studying your plant life and natural forms, it is time to plan your full bouquet image. Choose two or three different flower forms and a couple of leaf forms for your bouquet. Vary the size between them, so you may want to have a couple of larger flower forms and then a few smaller one to complement the bigger shapes.
Now, choose your colours. In my own work, I like to use a fairly limited palette in my illustrations. I plan this quite simply by taking my pens and pencils and making little blobs next to each other to see which colours work the best!
Choose a nice balance of colours for your composition so one or two darker colours, a couple of mid colours and a highlight or two. You might want to keep your colours fairly realistic, or might want to go bold and bright or more pastel depending on your tastes.
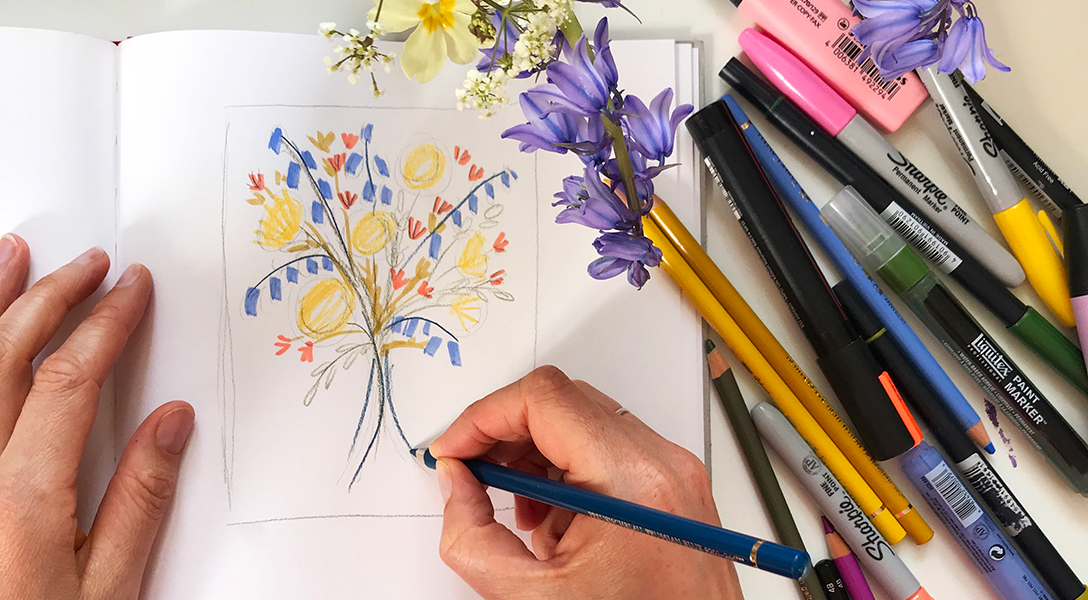
On a scrap piece of paper, sketch out your bouquet very lightly in pencil. Then add your colours onto your rough sketch to make sure they are nicely balanced and that they work well together and with the sizes of the flowers and fronds.
Step Five: Create your final piece
On your final piece of paper or card, very lightly sketch out your bouquet, being as faithful as you can to the rough layout made in step four. Then, referring to the sketches you made earlier, you can draw your final bouquet.
Remember that when you are laying down colours in pencil or marker pen that you need to start with the lightest colours first as you can’t draw light on dark. If you have paint markers or gel pens though, then due to the high opacity of their pigment you will likely be able to lay light colours over dark. It is a good idea to experiment with you materials though, as they all behave differently!
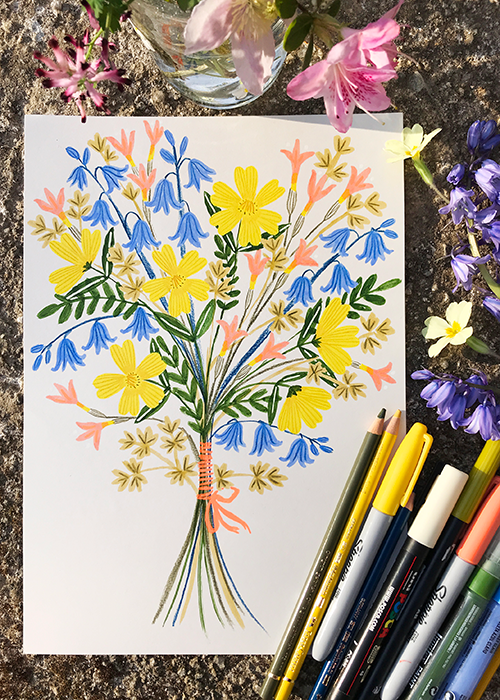
You might want to finish your bouquet drawing off by drawing a little ribbon ‘around’ the stems.Take time and care on your drawing and I hope you will end up with something you are proud of and that reminds you that the beauty of nature can be found everywhere.
Have fun!
Stay tuned to the Barbour blog, for more in our Barbour Way of Life series, where we’ll be posting more heart-warming, exciting and educational guides.
Share:
Posted in Barbour Way Of Life


